Create an API key and setting the permissions
If you've created a chain, and are ready start filling it with some blocks, you'll first need to create an API key that allows you access to this chain. Each API key can have specific read and or write privileges per chain, which allows you to have very fine-grained access control over who can read or write data to your chains.
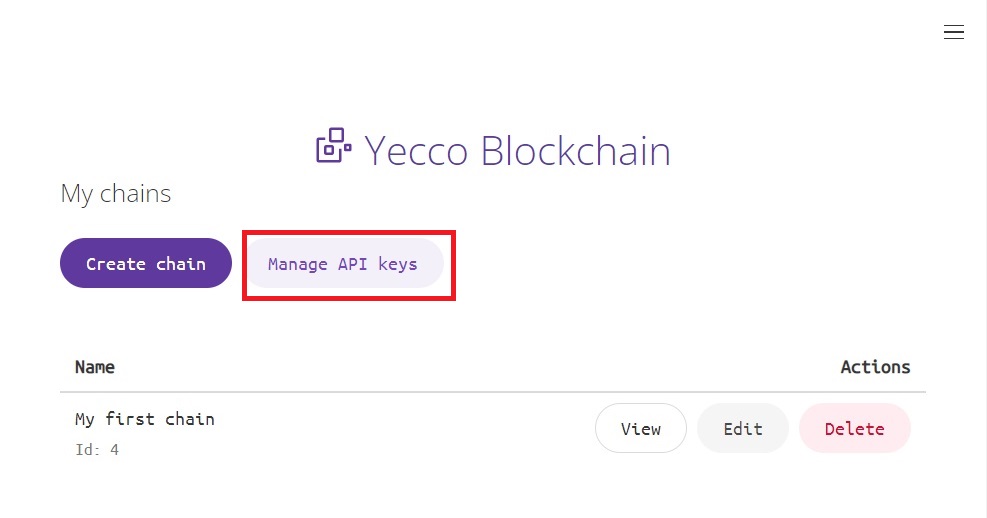
First, from the dashboard, click on Manage API keys.
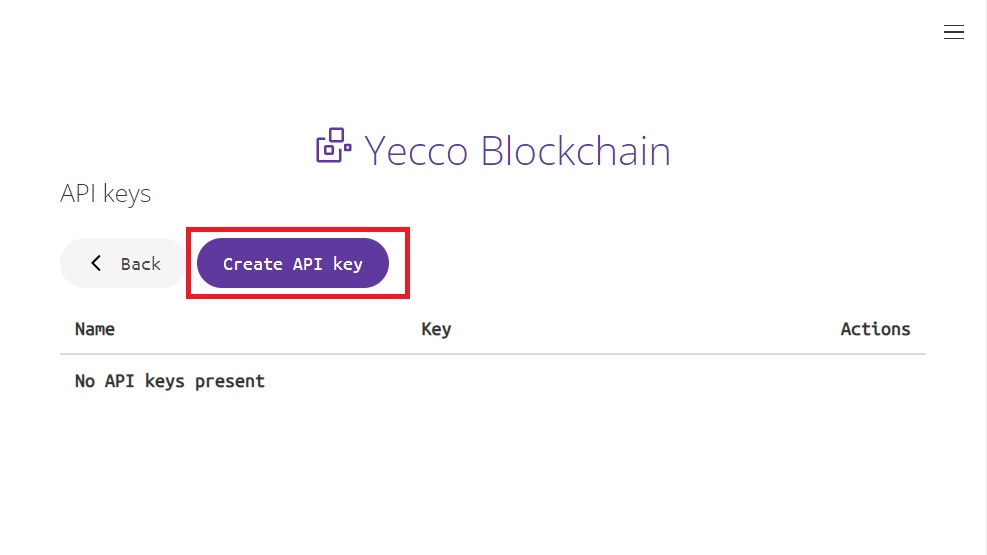
Next click on Create API key, to start with the creation of your API key.
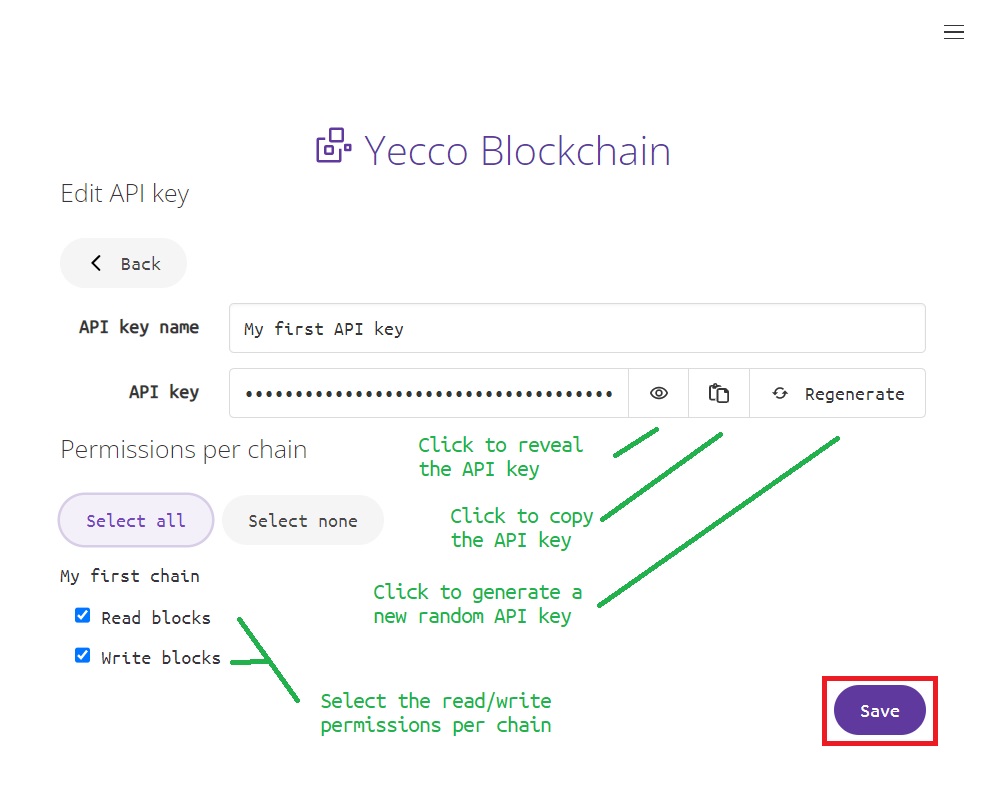
Now you can name your API key. It's recommended to use a name that can be associated with it's use. Next, there's an auto-generated set of characters in a masked field. This is the actual key you use to authenticate your API calls with. There's three buttons next to it:
- A button to reveal the API key, so you can view it's contents
- A button to copy the API key to the clipboard
- A button to generate a new set of characters for this API key
Next, you can select - per chain - if this key is allowed to read and or write for the selected chain.
After you're done configuring your API key, you can click Save and your key will be created.
Now you're ready to start adding some blocks to your chain.